Installation and system requirements
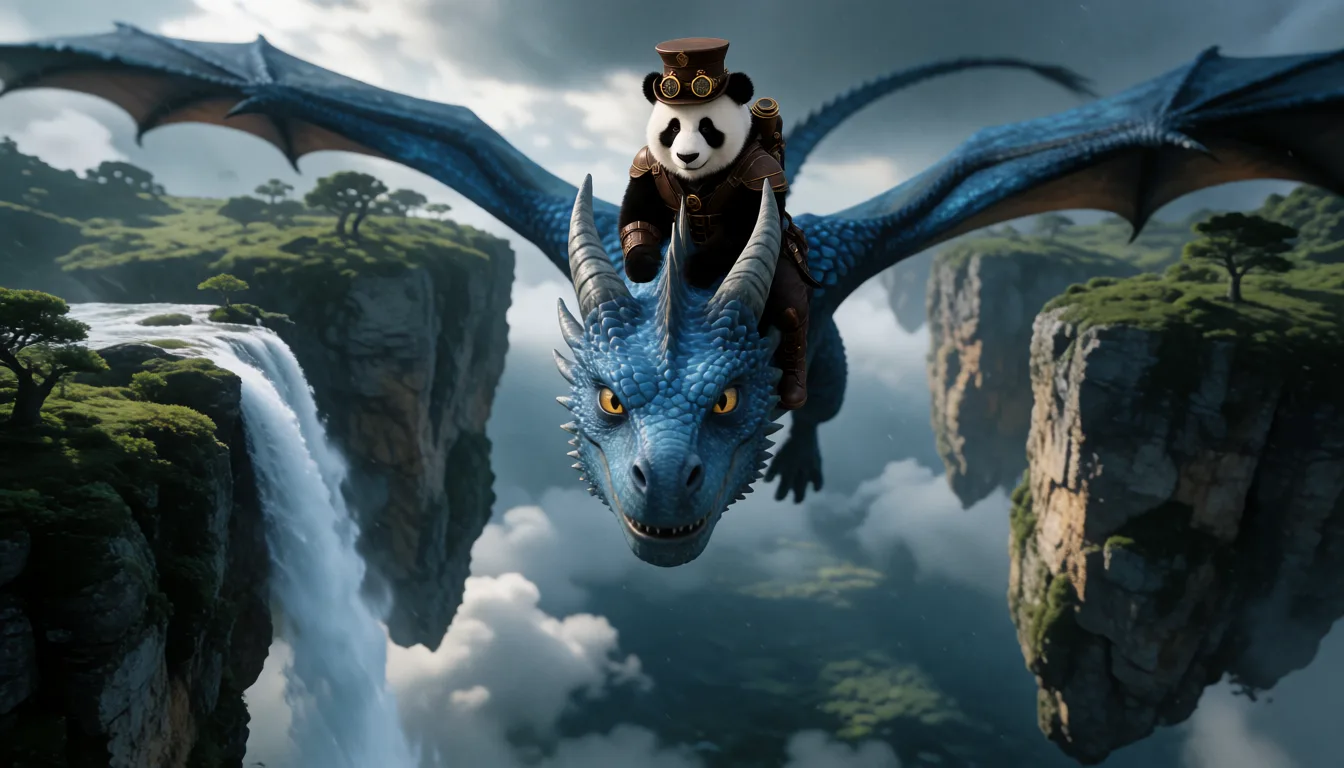
add a Panda with a steampunk costume riding the blue dragon
tendre.red runs on Windows as a native desktop app. Installation is a normal setup wizard, and the first launch takes care of the rest.
1. Download and run the installer
Grab the installer from the official download page and run it like any other Windows application. No account is required to install.
2. Approve the SmartScreen notice
Windows SmartScreen may show a warning on first run since the app is a new publisher. Click More info, then Run anyway to continue. This is a one-time step.
3. Choose Starter or Pro
The setup wizard opens on first launch and asks how you want to use tendre.red. Starter is a single prompt box, fully rendered in the cloud, nothing to install. Pro unlocks the full app, consistent characters, LoRA training, and local generation, and needs an NVIDIA RTX 20 series GPU or newer with at least 8 GB of VRAM.
4. Install the engine (Pro only)
If you pick Pro and your GPU qualifies, choose a folder for the local engine (it creates a TendreEngine subfolder there). Pick a folder you own, such as Documents, or a drive root: protected system folders like Program Files need admin rights, and the install will fail with a "folder not writable" message. Tick the image models you want (CyberRealisticXL, RealVisXL, Krea 2 Turbo, and DreamShaperXL are offered, more can be added later from the Components tab), then choose whether video stays in the cloud or LTX 2.3 installs locally (about 30 GB, downloaded in the background so you can keep working). You can also add the optional Characters from photos pack (InstantID, about 4.7 GB) to reproduce a face from your own photos, or skip it and add it later from the creation page. Click Install tendre.red.
If your GPU does not qualify, tendre.red switches to cloud-only generation automatically, no local download needed.
5. First launch
Once the engine and chosen models are ready, click Get started to enter the app.
6. Choose your mode
See Local vs cloud generation for the difference, then follow the Quick start to generate your first image.